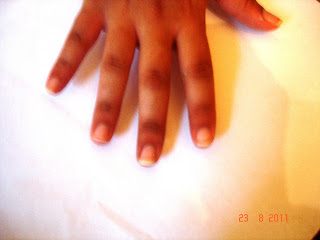
We are going to be showing you how to create funky cute nails for any time of the year; below is a step-by-step guide to creating this look. Please comment and tell us how you got on. Good Luck!!
NOTE: Sorry the pictures are dark, the lighting wasn't very good.
YOU WILL NEED;;

- A range of coloured nail polishes of your choice! We used;
-Superdrug - parrot green
-Medora (9) - purple
-Claires Travel Mini polish - Bright Blue
- An effective base coat. We used; Maybelline ForveverStrong Ultra Lasting +Iron
- A top Coat - We used Nails Inc. Clear Top Coat
- Nail Polish Remover - We used Superdrug Acetone Free
-;Some gemstones [for extra glitter!]
-;A wooden manicure stick [to correct mistakes]
-;Cotton Buds
-;A plastic stick [to pick up the rhinestones]
Start by applying the basecoat and then leave it to dry.
Next apply the first colour to one corner of the nail, clean up if nessesary.


Repeat the above step with the remaining colours. Remember to clean up as you go along.


Here is the finished product!

If you would like to add some Gemstones or rhinestones, then continue reading! If not, then apply a topcoat, and then leave to dry.

To add the rhinestones/Gemstones, apply clear nail varnish on top of the design. [As above]
Then, apply the rhinestones/Gemstones [quickly] using the plastic tool, which you can get from most beauty stores. If not, then you can use a coctail stick.
So here you have it, a colourful design, perfect for all nail sizes, shapes and any time of the year!
Apply a topcoat/ nail strengthener to seal the design, wait for it to dry, and then YOU ARE FINISHED!
Thanks for reading this blog, comment below to tell us whether you liked it or not, and whether you tried this yourself!
HAPPY VARNISHING :D
Tanya&Alisha 8)
twofashionerds.blogspot.com


Cute idea- deff gunna try it out :)
ReplyDeleteThanks, tell us how you got on! :)
ReplyDelete